 "tiltz" (tiltz)
04/20/2016 at 17:40 ē Filed to: None
 6
6
 8
8
 "tiltz" (tiltz)
04/20/2016 at 17:40 ē Filed to: None |  6 6
|  8 8 |
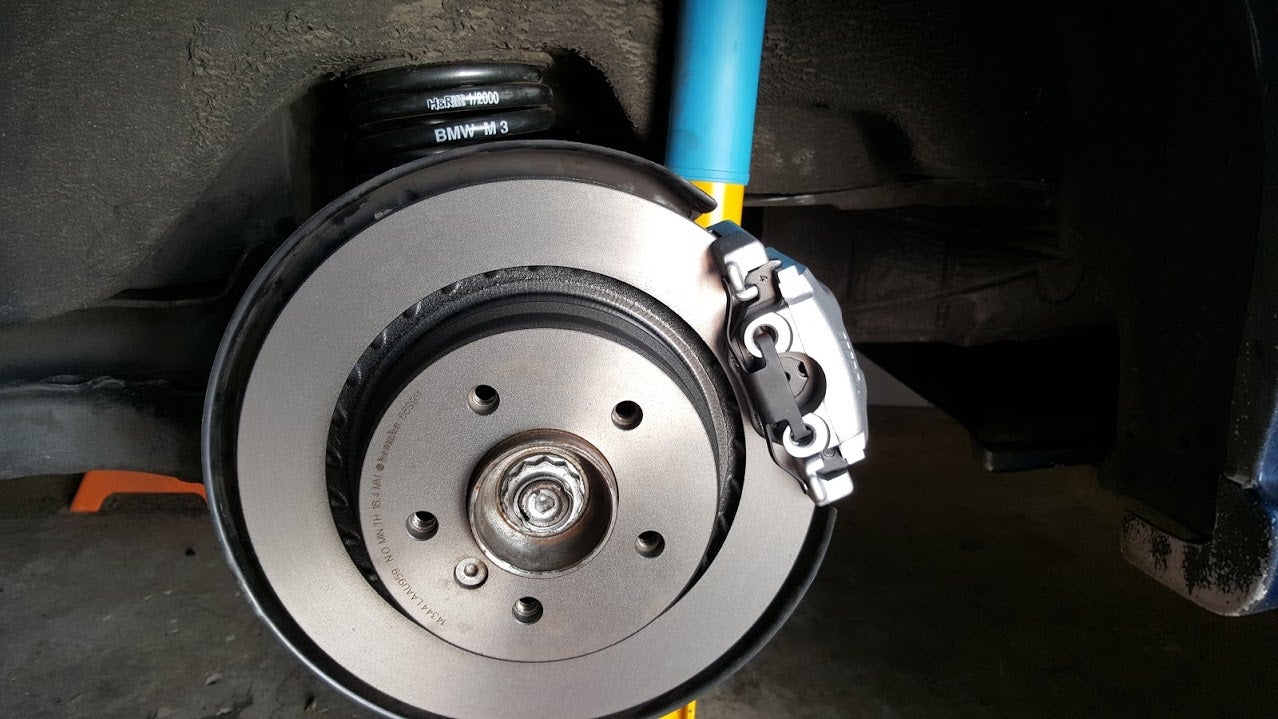
Step 1 - Unbolt each caliper from the car, then remove the calipers from the lines.
(i forgot to take pictures for the first few steps)
Step 2 - Remove pistons. I used compressed air to pop out the pistons. You can also leave them hooked up to the car and then pop them out with the brake pedal. To do this, plug off 3 of the lines, and then hook each one up separately to the remaining line. Unbolted from the rotor, there is nothing to hold them back. Be careful, they can pop out with some force.
Step 3 - Remove the seals, guides and all other parts and chuck them.
Step 4 - Clean. And then keep cleaning. I used a metric shit ton of brake cleaner. If there is any corrosion on in the brake cylinder, you can use a brake hone to smooth it out. If there is any corrosion on the piston it will probably need to be replaced. You can use a wire brush on the exterior of the caliper and scotchbrite on the inside. I scrubbed and brushed and rinsed with brake cleaner to try and get them as clean as possible since I was repainting them. If your car is older, it isnít a bad idea to wear a mask since pads used to be made of asbestos. Itís also a good idea to do this in an open or well ventilated area. I didnít heed that advice and i am sure I am down a few brain cells.
Step 5 - Mask off the bore for the cylinder, the guide holes, the bleeder, the brake line connections and the bolt holes and apply a few coats of caliper paint
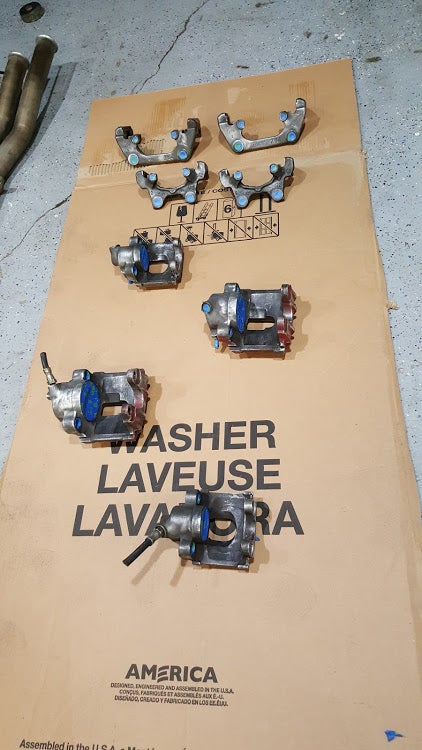
Step 6 - Enjoy your freshly painted calipers
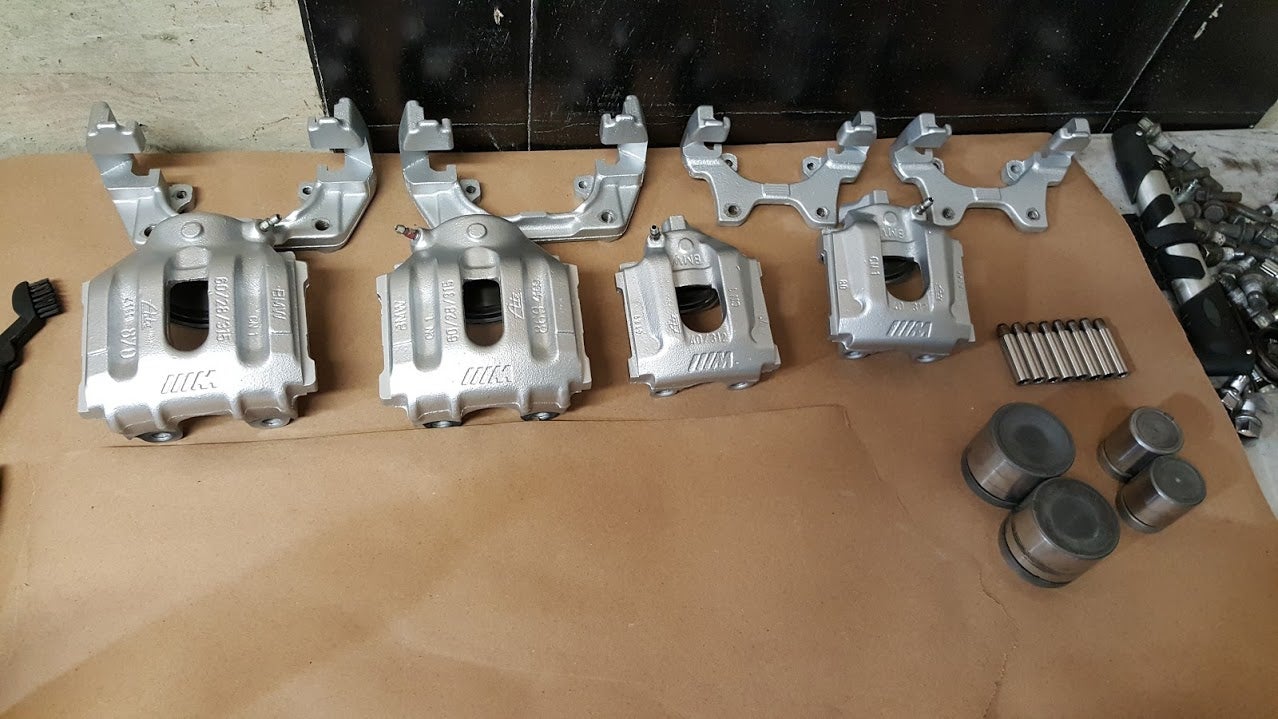
Step 7 - Lay out all of your new parts on a clean work bench. In my case, I ended up replacing a couple of the pistons because of corrosion. And then reassemble everything with some assembly lube.
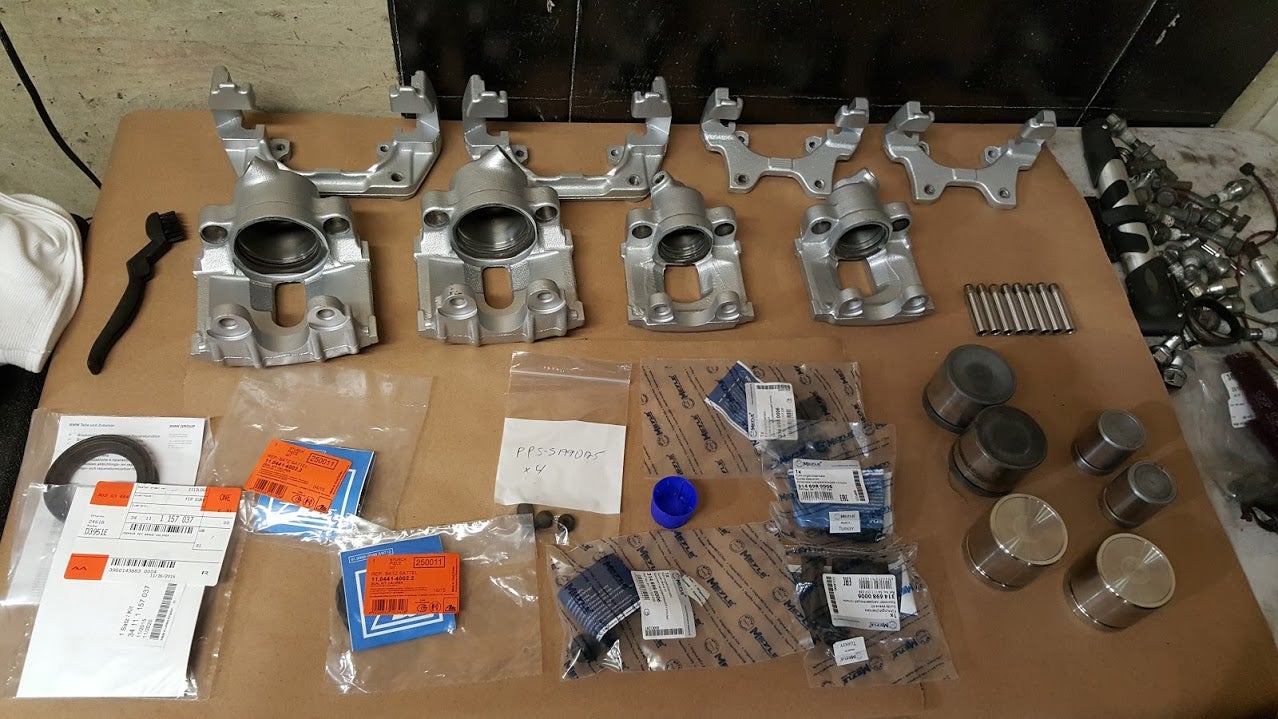
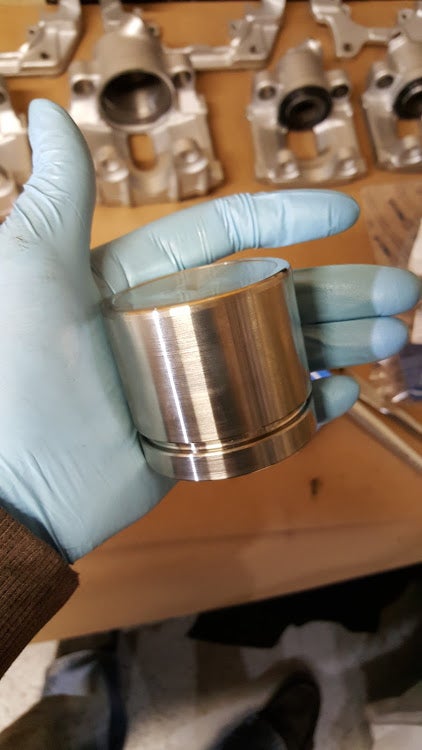
New fancy stainless racing piston
Step 8 - Good as new
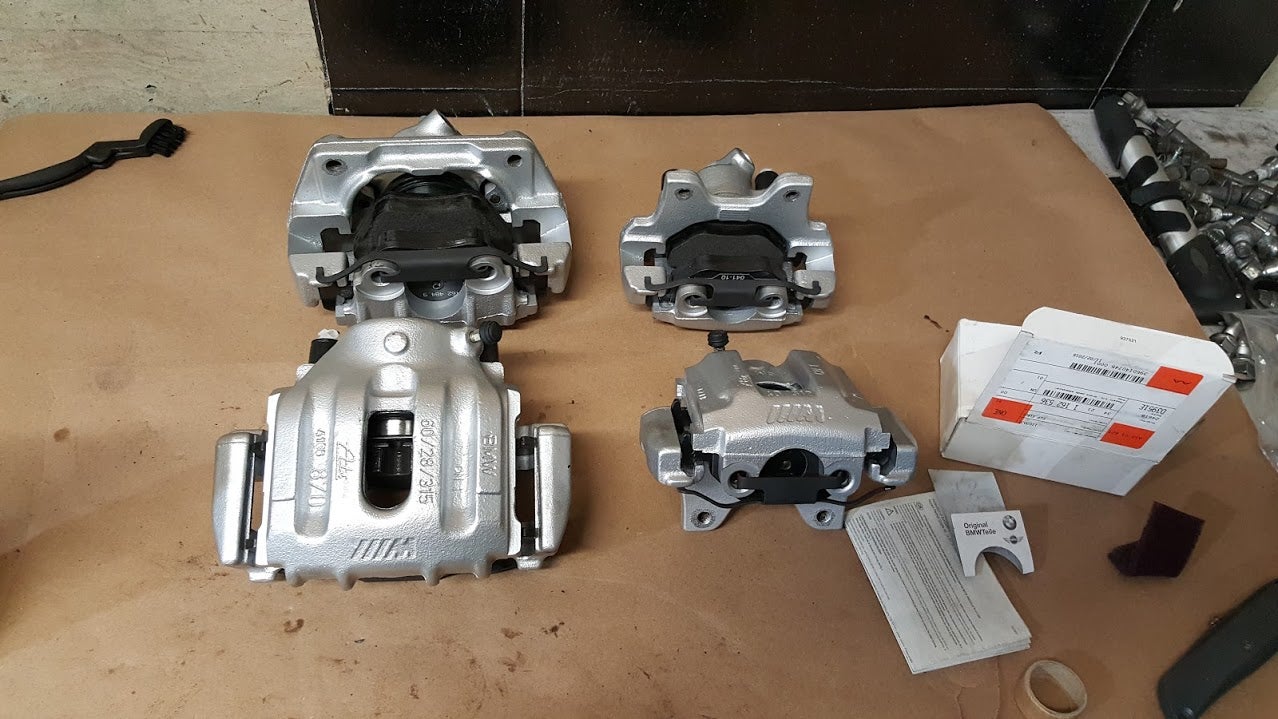
Those fresh calipers deserve new pads
Step 9 - Put back on the car and be confident in your braking system
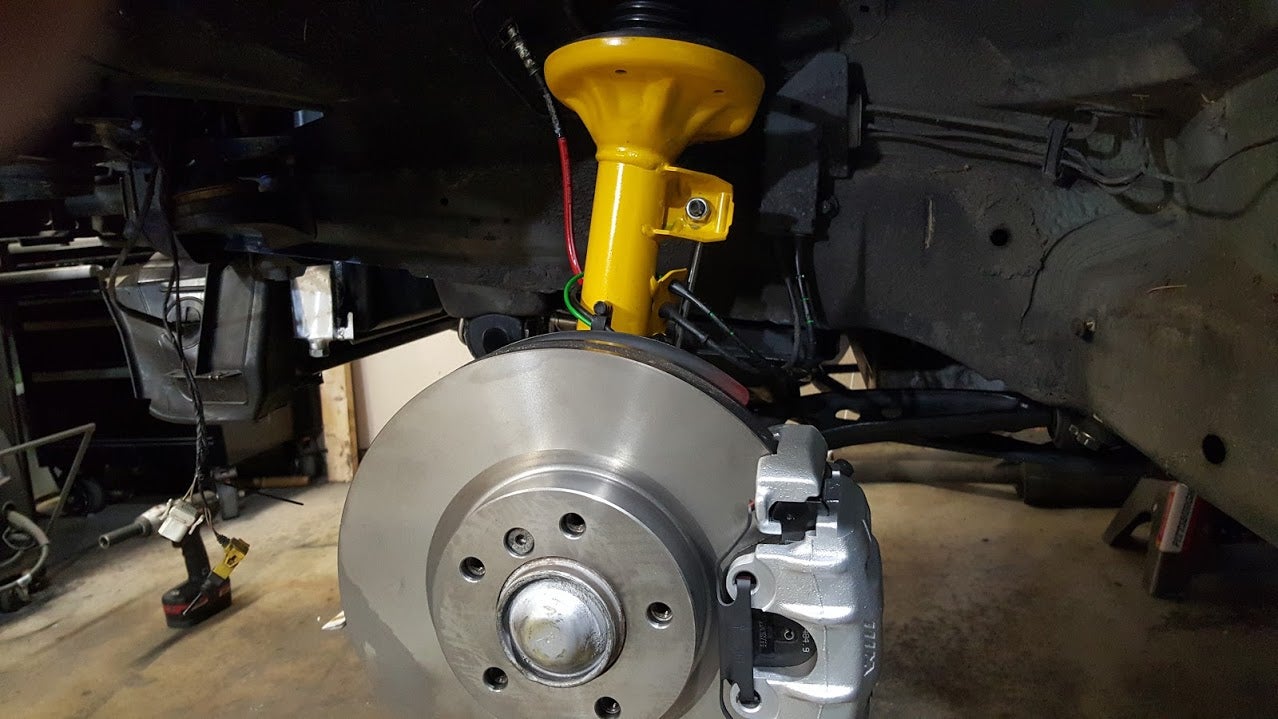
Bonus points for stainless steel lines and new rotors
 Bricks
> tiltz
04/20/2016 at 18:05 |
|
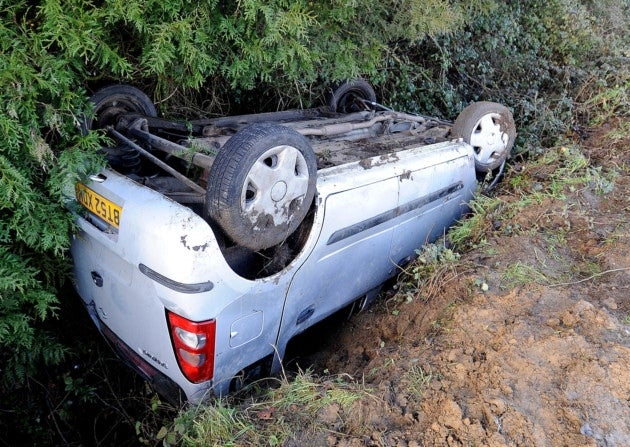
step 10:
 tiltz
> Bricks
04/20/2016 at 18:08 |
|
Thatís more like step 0
 Bricks
> tiltz
04/20/2016 at 18:09 |
|
depends on how well you followed instructions :P
 Urambo Tauro
> tiltz
04/20/2016 at 18:20 |
|
Step 0: Jack up car and place on jackstands Flip car over for access and remove wheels.
 Manwich - now Keto-Friendly
> Bricks
04/20/2016 at 19:28 |
|
Step 11... go for a drive in Russia...
 thatsmr
> tiltz
04/20/2016 at 22:56 |
|
I drove my old Volvo S70 with metal on metal rear brakes until pass side rear disc sheared off and piston ejected. (Had 60 min commute each way + 60 hour work per week..kept saying id fix) Cost me around 100 for new pads, rotors, and a reman caliper. Unless uber rare or expensive, Id never rebuild a caliper. I think your work looks and sounds like done right though. Cheers!
 gmporschenut also a fan of hondas
> tiltz
04/21/2016 at 00:31 |
|
its amazing how fast the calipers will look like shit without painting them. biggest regret.
 tiltz
> thatsmr
04/21/2016 at 01:23 |
|
M3 calipers are expensive. The only thing that cost much money was the replacement pistons, but still not too much. I think I am into the caliper rebuild about $200 (not including pads and rotors). A replacement OE caliper is $330. Plus these kind of projects are fun.